Are you wondering how to put a patch on a backpack? Adding patches to backpacks has become a popular trend in recent years. Not only does it allow you to personalize your backpack and showcase your unique style, but it also adds durability and longevity to your favorite bag. In this step-by-step tutorial, we will guide you through the process of attaching a patch to your backpack like a pro. Whether you choose to use adhesive or sew the patch on, we’ll cover all the necessary steps to ensure a secure and long-lasting attachment.
What you will learn about putting a patch on a backpack
- The importance of proper patch attachment for durability and longevity.
- The materials needed and how to gather them before starting the process.
- How to choose the right patch that matches personal style and preferences.
- Step-by-step instructions on how to clean, position, attach, and sew the patch onto the backpack.
- Tips on testing the durability of the attached patch and following care instructions.
- Additional customization ideas and how to safely remove a patch if desired.
Understand the importance of proper patch attachment
Before we dive into the step-by-step process, let’s take a moment to understand why it’s essential to attach patches securely to your backpack. Proper patch attachment guarantees durability and longevity. A securely attached patch will withstand the rigors of everyday use, ensuring that it doesn’t peel off or get damaged easily.
In addition to durability, attaching patches to your backpack also adds an aesthetic appeal. It allows you to express your personality and interests, making your backpack truly unique. Whether you choose decorative patches or brand logos, adding patches can transform a plain backpack into a personalized statement piece.
Gather the necessary materials
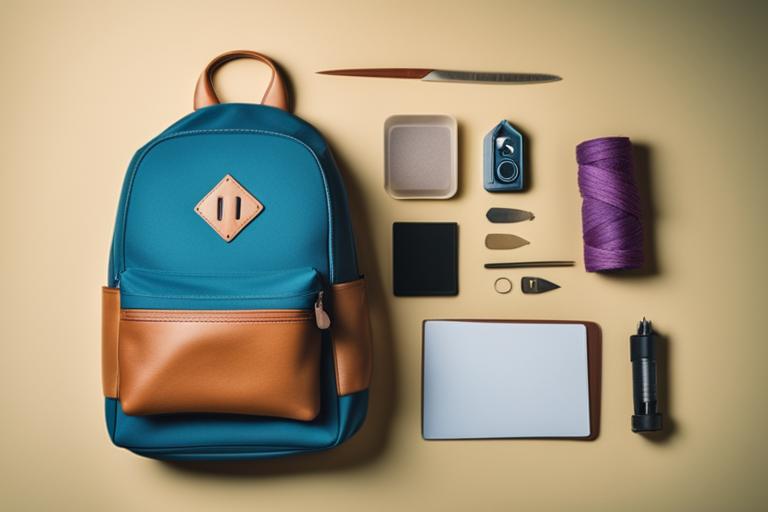
Before you start attaching the patch to your backpack, it’s crucial to gather all the necessary materials. Here’s a list of items you’ll need:
- Patch of your choice
- Adhesive (if using adhesive-backed patches)
- Needle
- Thread
- Scissors
- Fabric glue (optional)
- Cleaning supplies (mild soap, water, cloth)
Having all these materials ready before you begin will ensure a smooth process and prevent any interruptions while attaching the patch.
Choose a patch
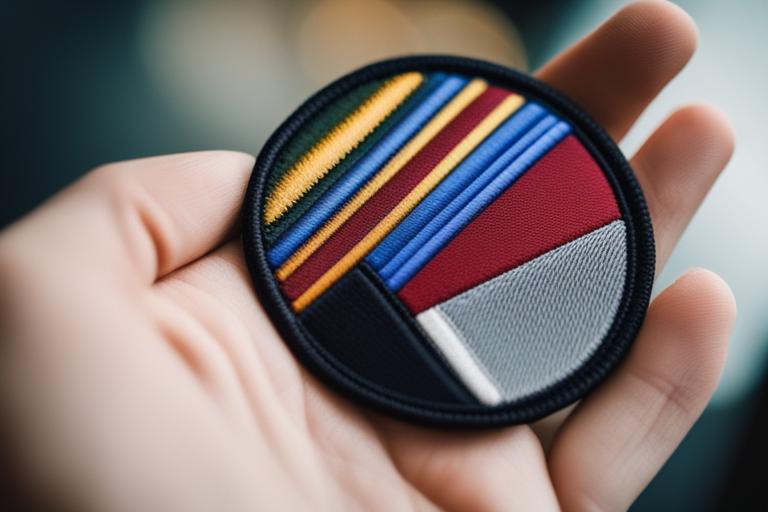
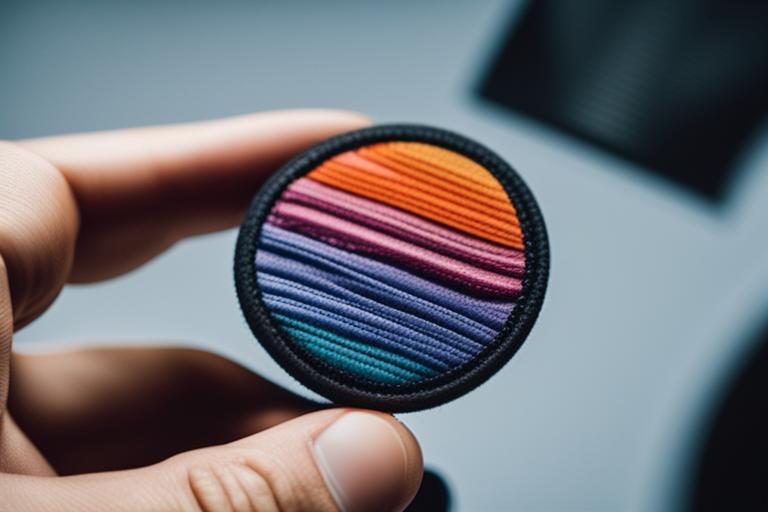
Now comes the fun part – choosing the perfect patch for your backpack! Patches come in various types and designs, including decorative patches, brand logos, and more. When selecting a patch, consider your personal style and preferences. Choose a patch that reflects your interests or showcases something you’re passionate about. This way, your backpack becomes a canvas for self-expression.
Prepare the backpack
Before attaching the patch, it’s crucial to prepare the backpack properly. Start by cleaning the area where the patch will be placed. Use mild soap and water to gently scrub away any dirt or grime. Rinse the area thoroughly and pat it dry with a clean cloth.
It’s essential to ensure that the backpack is completely dry before proceeding to the next step. Moisture can interfere with the adhesive or weaken the bond if sewing is involved.
Position the patch
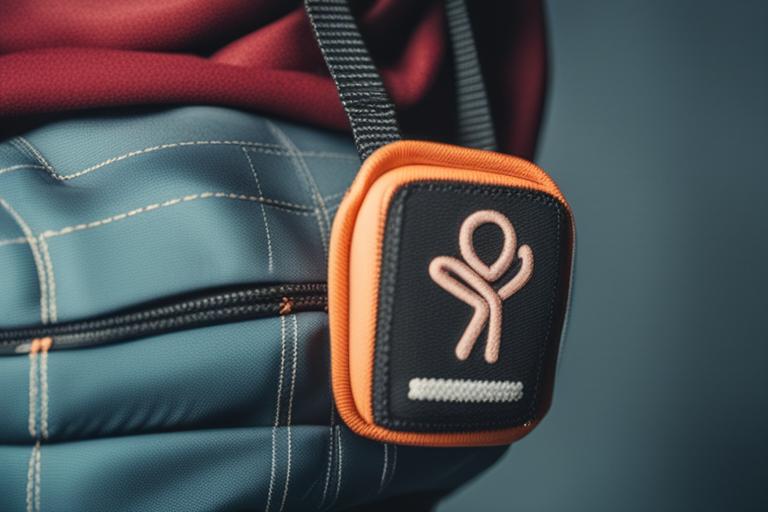
Now that your backpack is clean and dry, it’s time to position the patch. Consider the size of the patch and the available space on your backpack. Larger patches may look best on the back or front of the bag, while smaller patches can be placed on straps or pockets.
When positioning the patch, think about visibility and symmetry. Placing the patch in a central location or a spot that catches the eye can make it stand out. Additionally, ensure that the patch is centered and aligned correctly for a balanced appearance.
Attach the patch with adhesive
If your patch has adhesive backing, attaching it becomes a breeze. Start by peeling off the protective covering from the adhesive side of the patch. Carefully place the patch on the desired spot, ensuring it aligns with your chosen position.
Press down firmly on the patch to make sure it adheres securely to the backpack. Apply pressure evenly across the entire patch to avoid any air bubbles or loose edges. If needed, you can use fabric glue to reinforce the adhesive bond further.
Sew the patch (if needed)
If your patch does not have adhesive backing or if you prefer a more secure attachment, sewing is an excellent option. Thread a needle with a thread color that matches the patch or backpack fabric. Start by knotting the end of the thread.
Begin sewing from the inside of the backpack, pushing the needle through the fabric and through one edge of the patch. Pull the thread tight, but not too tight as to pucker the fabric. Continue stitching around the edges of the patch, making small, even stitches until you’ve sewn all the way around.
Trim any excess thread
Once the patch is securely attached, it’s time to trim any excess thread for a neater appearance. Use a pair of sharp scissors to carefully trim the thread close to the fabric, being cautious not to cut the patch or the backpack fabric. Take your time to ensure a clean and tidy finish.
| Step | Description |
|---|---|
| I | Understand the importance of proper patch attachment |
| II | Gather the necessary materials |
| III | Choose a patch |
| IV | Prepare the backpack |
| V | Position the patch |
| VI | Attach the patch with adhesive |
| VII | Sew the patch (if needed) |
| VIII | Trim any excess thread |
| IX | Test the durability |
| X | Enjoy your personalized backpack |
| XI | Care instructions |
| XII | Additional customization ideas |
| XIII | Remove a patch (if desired) |
Test the durability
To ensure that your patch is securely attached, it’s essential to test its durability. Gently tug on the patch to check if it moves or peels off easily. Give it a few light tugs from different angles to simulate everyday use.
Consider specific scenarios that your backpack may encounter, such as frequent use or exposure to different weather conditions. If the patch passes these durability tests, you can be confident that it’s securely attached and will withstand regular wear and tear.
Enjoy your personalized backpack
Congratulations! You’ve successfully attached a patch to your backpack like a pro. Take a moment to admire your handiwork and proudly use your newly personalized backpack. It’s a testament to your creativity and individuality.
Personal Story: The Power of Personalization
I remember when I first got my backpack for school. It was a plain black bag, just like everyone else’s. But I wanted to stand out and make it my own. That’s when I discovered the world of patches. They offered a way to add a touch of my personality and make my backpack truly unique.
I carefully selected a patch that represented my love for music and attached it to the front of my backpack. The transformation was incredible. Suddenly, my backpack became a reflection of who I was. It was no longer just a bag to carry my books; it became a statement piece that showcased my interests and passions.
Not only did the patch add a personal touch, but it also served as a conversation starter. People would often ask me about the patch, and it gave me the opportunity to share a little bit about myself. It became a symbol of my individuality and a way to connect with others who shared similar interests.
Over the years, I’ve added more patches to my backpack, each one telling a different story. From my favorite bands to my travels around the world, each patch holds a special meaning. And the best part is that I can easily change them out whenever I want, allowing me to constantly update and refresh the look of my backpack.
So, if you’re looking to make your backpack truly your own, I highly recommend adding some patches. They have the power to transform a plain bag into a personalized masterpiece that reflects your unique style and interests. Let your creativity shine and see how a simple patch can make a world of difference.
Care instructions
To maintain the appearance and durability of your patch and backpack, it’s essential to follow care instructions provided with the patch. These instructions may vary depending on the type of patch material, such as fabric or leather. Generally, avoid washing the backpack too frequently and spot clean any stains.
For fabric patches, gently hand wash the backpack if necessary, using mild soap and lukewarm water. Avoid submerging the patch in water and let it air dry. For leather patches, use a leather cleaner or conditioner to keep the material in good condition.
Additional customization ideas
If you’re looking to further customize your backpack, there are plenty of additional ideas to consider. You can add more patches to create a collage effect, or incorporate buttons, pins, or other decorative elements. Mix and match different patches and accessories to make your backpack truly one-of-a-kind.
Remove a patch (if desired)
If you ever want to remove a patch from your backpack, it’s essential to do so carefully to avoid damaging the fabric. Start by gently peeling off any adhesive-backed patches. If the patch was sewn on, carefully cut the stitches using small scissors or a seam ripper.
Once the patch is removed, use a fabric shaver or lint roller to remove any leftover adhesive residue or loose threads. Clean the area thoroughly before attaching a new patch or leaving it plain.
Conclusion
Attaching a patch to a backpack is a simple yet rewarding process. By following this step-by-step tutorial, you’ve learned how to put a patch on a backpack like a pro. Remember to choose a patch that reflects your personal style, properly prepare the backpack, and attach the patch securely with adhesive or sewing.
Embrace your creativity and proudly show off your unique backpack. Adding patches not only adds durability and longevity but also allows you to make a personal statement. Enjoy the satisfaction of having a backpack that truly represents you. Happy patching!
William, a seasoned DIY enthusiast and backpacking enthusiast, brings a wealth of experience and expertise to this step-by-step tutorial on how to put a patch on a backpack like a pro. With a background in visual arts and fashion design, William has a keen eye for creative and personalized ways to enhance everyday items, including backpacks.
Having spent years exploring various backpacking trails around the world, William understands the importance of durability and functionality when it comes to backpack accessories. Their passion for personalization inspired them to experiment with different methods of attaching patches to backpacks, resulting in a tried-and-true approach that is easy to follow and yields professional-looking results.
William has also conducted extensive research on the best adhesives and sewing techniques for attaching patches, drawing on reputable sources within the fashion and DIY communities. Their attention to detail and commitment to providing accurate information make them a trusted authority in the field.
Whether you’re a backpacking enthusiast looking to add a personal touch to your gear or simply someone who enjoys creative DIY projects, William’s tutorial will guide you through the process with confidence and ensure you achieve a professional-looking result.