What readers will learn from this article
- The concept and benefits of using a weighted backpack for exercise or training purposes.
- How to gather the materials needed to make a DIY weighted backpack.
- Step-by-step instructions for creating compartments and inserting weights, as well as tips for testing and adjusting the backpack for comfort and functionality.
In the world of fitness and exercise, finding ways to challenge the body and push its limits is key to achieving optimal results. One effective tool that has gained popularity among fitness enthusiasts is the weighted backpack. A weighted backpack is simply a backpack that is loaded with weights to increase resistance during workouts or training sessions. It provides a convenient and versatile way to add extra intensity to various activities, from hiking and walking to bodyweight exercises and running.
While there are many weighted backpacks available for purchase, making your own DIY weighted backpack offers several advantages. Not only does it allow you to save money, but it also gives you the freedom to customize the backpack according to your specific needs and preferences. In this comprehensive tutorial, we will guide you through the process of creating your very own weighted backpack, providing detailed instructions and tips along the way.
Understanding Weighted Backpacks
Before diving into the DIY aspect, it’s important to understand the purpose and benefits of using a weighted backpack. A weighted backpack essentially adds an extra load to your body, which increases the demands placed on your muscles and cardiovascular system. This added resistance can enhance strength training exercises, improve endurance, and even increase calorie burning during physical activities.
One of the key benefits of using a weighted backpack is that it allows you to perform functional movements with added resistance. For example, when walking or hiking with a weighted backpack, your leg muscles have to work harder to propel your body forward. This not only strengthens the muscles but also improves overall cardiovascular fitness. Additionally, the increased load on your body can help improve bone density, making it a valuable tool for individuals looking to prevent osteoporosis or maintain healthy bones.
Gathering the Materials
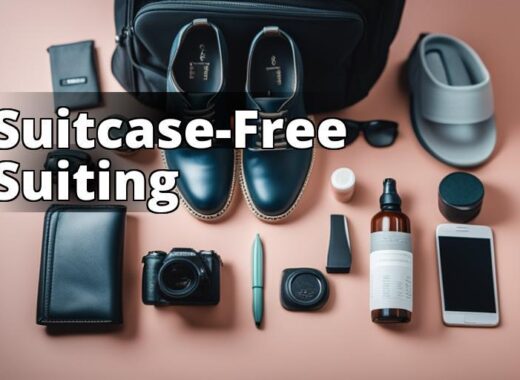
To get started on your DIY weighted backpack project, you’ll need to gather a few key materials. Here’s a comprehensive list of what you’ll need:
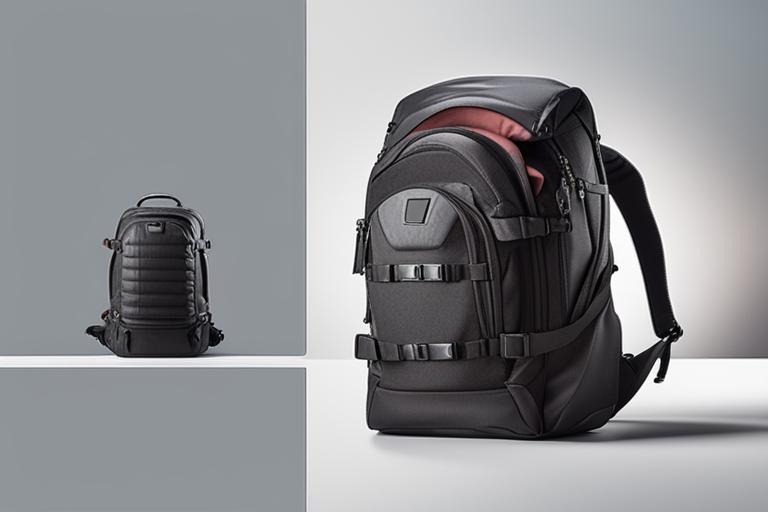
- A backpack: Choose a backpack that is durable and can handle the added weight. Look for backpacks made from sturdy materials such as nylon or canvas.
- Weights: You have several options when it comes to selecting weights for your backpack. Sandbags, metal plates, or small dumbbells are all viable choices.
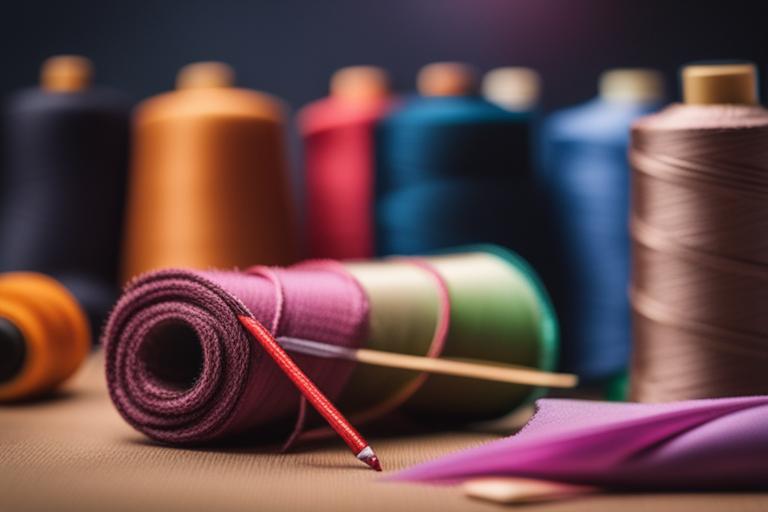
- Fabric: You may need additional fabric to create compartments or reinforce the backpack.
- Thread: High-quality thread is essential for ensuring the durability of your weighted backpack.
- Sewing tools: You’ll need basic sewing tools such as a sewing machine, needles, pins, and scissors.
These materials can be found at various online retailers or local stores that sell fitness equipment, outdoor gear, or sewing supplies. Take some time to research the best options in terms of quality and affordability.
Choosing the Right Backpack
When selecting a backpack for your DIY weighted backpack project, it’s important to consider a few key factors. First and foremost, choose a backpack that is built to withstand the added weight. Look for backpacks that are made from durable materials and have reinforced stitching and sturdy straps. The last thing you want is for your backpack to fall apart or cause discomfort during your workouts.
Another consideration is the size and style of the backpack. The size should be appropriate for your body and the activities you plan to engage in. If you’re planning on using the weighted backpack for hiking or long-distance walking, opt for a larger backpack with ample storage space. If you’re primarily using it for bodyweight exercises or running, a smaller backpack that sits close to your body may be more suitable.
Additionally, pay attention to the features of the backpack such as compartments and pockets. Some backpacks come with multiple compartments, which can be helpful for organizing your weights and other belongings. However, keep in mind that unnecessary straps or pockets may need to be removed or modified to accommodate the added weight.
Selecting the Weights
The next step in your DIY weighted backpack project is choosing the right weights. There are several options available, each with its own pros and cons. Some popular choices include sandbags, metal plates, or small dumbbells.
Sandbags are a versatile and cost-effective option. They can easily be filled with sand to achieve the desired weight. Sandbags are also flexible, making them conform to the shape of the backpack and providing a more comfortable fit. However, keep in mind that sandbags may not be suitable for all activities, especially if you plan on engaging in exercises that involve a lot of movement or impact.
Metal plates are a more rigid option that provides a stable and consistent weight. They come in various sizes and can be easily inserted into compartments in the backpack. Metal plates are a great choice if you’re looking for a more structured and secure option. However, they can be heavier and may add additional bulk to the backpack.
Small dumbbells are another option to consider. They are easy to handle and can be securely attached to the backpack using straps or fasteners. Small dumbbells provide a convenient way to adjust the weight of your backpack, as you can easily add or remove them as needed. However, keep in mind that they may require additional attachments or modifications to ensure they stay in place during your workouts.
When determining the appropriate weight for your backpack, consider your fitness level and the intended purpose of the backpack. Start with a weight that challenges you but still allows you to maintain proper form and technique during exercises. It’s always better to start with a lighter weight and gradually increase it as you become more comfortable and confident.
Preparing the Backpack
Once you have your backpack and weights ready, it’s time to prepare the backpack for the added load. If your backpack is new, it’s a good idea to empty and clean it before getting started. This will ensure that there are no loose threads or debris that could interfere with the sewing process.
Next, take a close look at the backpack and consider any modifications that need to be made. Depending on the design of the backpack, you may need to remove or adjust unnecessary straps or pockets. This will allow for a more streamlined and comfortable fit when the weights are added.
Additionally, consider reinforcing the backpack if necessary. You can reinforce areas that will be under the most stress, such as the seams or the straps. This can be done by sewing extra layers of fabric or using heavy-duty thread to ensure the backpack can handle the added weight without tearing or breaking.
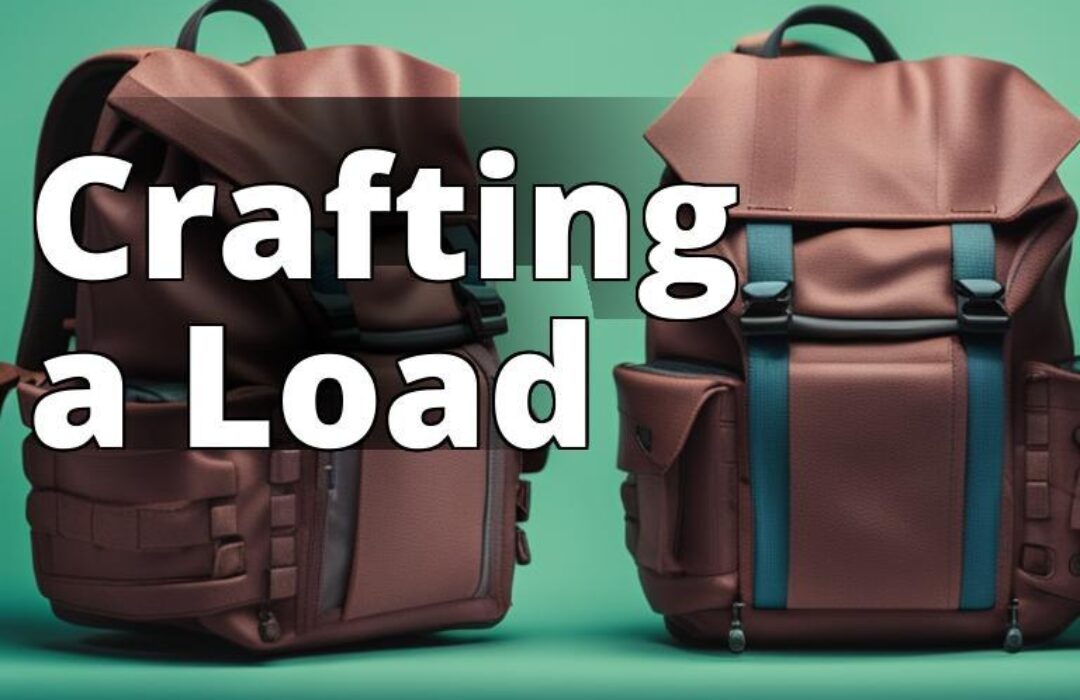
Creating Weight Compartments
One of the most important aspects of a weighted backpack is creating compartments to securely hold the weights. This will prevent them from shifting or moving around during your workouts, ensuring an even distribution of weight. There are several techniques you can use to create these compartments.
One option is to sew pockets or pouches directly onto the interior of the backpack. To do this, measure the dimensions of your weights and cut pieces of sturdy fabric accordingly. Sew the fabric onto the backpack, ensuring that the pockets are deep enough to securely hold the weights. Use a strong thread and reinforce the stitches to ensure durability.
Another option is to use removable compartments. These can be made with sturdy fabric and attached to the interior of the backpack using Velcro or snaps. This allows for easy adjustment and customization of the weight distribution. You can experiment with different configurations to find the most comfortable and effective setup for your workouts.
When creating the compartments, it’s important to use materials that are strong and durable. Opt for fabrics such as canvas or nylon, as they can withstand the weight and pressure without tearing or fraying. Reinforce the seams and stitches to ensure they can handle the load.
Inserting the Weights
With the compartments in place, it’s time to insert the weights into the backpack. Properly placing the weights is crucial to achieving an even distribution and maintaining balance during your workouts.
Start by placing the weights into the compartments, ensuring that they fit securely and snugly. If necessary, use additional padding or cushioning to prevent discomfort or shifting of the weights. This can be done by adding foam inserts or wrapping the weights in fabric before placing them in the compartments.
To secure the weights, consider using Velcro straps or double stitching. This will help keep the weights in place and prevent them from moving around. Take the time to test the stability of the weights by gently shaking or moving the backpack. If the weights shift or feel unstable, make the necessary adjustments to ensure a secure fit.
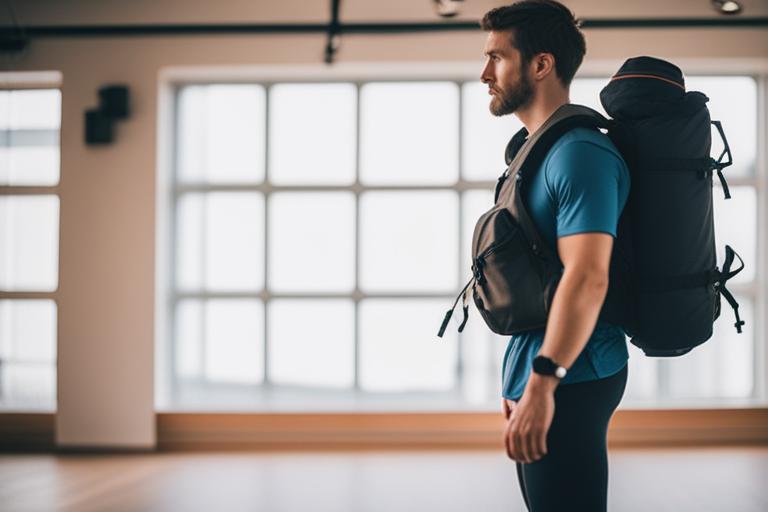
Testing and Adjusting
Once the weights are securely in place, it’s important to test the backpack to ensure comfort and functionality. Put on the backpack and walk around, mimicking the movements you plan to do during your workouts. Pay attention to any discomfort or imbalance that you may experience.
If necessary, make adjustments to the weight distribution or the placement of the compartments. You may need to add or remove weights to achieve a more balanced and comfortable fit. It can also be helpful to seek feedback from others, such as a fitness professional or a training partner, to ensure proper weight distribution and alignment.
Remember, the goal is to create a weighted backpack that challenges you without compromising your safety or form. Take the time to fine-tune the setup until you find the right balance for your individual needs.

Finishing Touches and Maintenance
Once you’re satisfied with the fit and functionality of your DIY weighted backpack, you can add some finishing touches to personalize it. Consider adding patches, embroidery, or reflective materials to make the backpack uniquely yours. Not only does this add a personal touch, but it can also make the backpack more visible and safe, especially if you plan on using it outdoors.
To ensure the longevity of your weighted backpack, it’s important to properly clean and maintain it. Depending on the materials used, you may be able to machine wash the backpack or simply wipe it clean with a damp cloth. Regularly inspect the seams and stitches for any signs of wear or damage, and make any necessary repairs to prevent further deterioration.
If you plan on using the weighted backpack outdoors, consider adding waterproofing or weatherproofing measures. This can include using waterproof fabric or treating the backpack with a waterproof spray. Protecting the backpack from the elements will help prolong its lifespan and ensure its functionality in various weather conditions.
Case Study: Jane’s Weighted Backpack Journey
Jane, a fitness enthusiast, was looking for a new way to challenge herself during her workouts. She came across the concept of using a weighted backpack and decided to give it a try. Instead of purchasing one, she opted to make her own DIY weighted backpack for the added customization options and cost savings.
After researching the benefits and uses of weighted backpacks, Jane gathered all the necessary materials. She bought a durable backpack with sturdy straps and multiple compartments that could handle the additional weight. For the weights, she chose small dumbbells as they were easily accessible and offered adjustable weight options.
Following the tutorial, Jane prepared the backpack by emptying and cleaning it thoroughly. She also removed any unnecessary straps and pockets to ensure a streamlined design. To create weight compartments, Jane sewed pockets inside the backpack using durable nylon fabric. She double-stitched the pockets to ensure they could securely hold the weights.
With the compartments ready, Jane inserted the dumbbells, making sure to distribute the weight evenly. She used Velcro straps to secure the weights and added some padding to prevent discomfort during her workouts. Once everything was in place, Jane tested the backpack to ensure comfort and functionality. She made some minor adjustments by repositioning the compartments to achieve better weight distribution.
Jane was thrilled with the final result of her DIY weighted backpack. She decided to personalize it by adding her initials with embroidery and attaching a reflective patch for safety during outdoor activities. Jane found that her weighted backpack added an extra challenge to her workouts, helping her build strength and endurance.
By making her own weighted backpack, Jane not only saved money but also had the freedom to customize it to her preferences. She encourages other fitness enthusiasts to embark on their own DIY projects and experience the benefits of a personalized weighted backpack. Jane emphasizes the importance of using the backpack safely and responsibly, consulting with a fitness professional if needed.
Conclusion
In conclusion, creating your own DIY weighted backpack is a cost-effective and customizable way to enhance your fitness routine. By following the steps outlined in this tutorial, you’ll be able to create a weighted backpack that suits your needs and preferences. Remember to choose a durable backpack, select the appropriate weights, and create secure compartments for even weight distribution.
Enjoy the process of personalizing your weighted backpack and make it a reflection of your unique style. And most importantly, use the weighted backpack safely and responsibly. If you have any concerns or questions, consider consulting with a fitness professional or a trained expert to ensure proper form and technique. Now, it’s time to unleash the power of your DIY weighted backpack and take your workouts to new heights!
FAQs
What materials do I need to make a weighted backpack?
You’ll need a backpack, fabric, thread, and weights.
How do I calculate the right weight for my backpack?
Determine your desired weight, then evenly distribute it among the pockets.
What is the purpose of a weighted backpack?
Weighted backpacks are used for exercise, training, or sensory input.
How can I make sure the weights stay secure in the backpack?
Double stitch the pockets and reinforce the seams for added durability.
Who can benefit from using a weighted backpack?
Athletes, hikers, and individuals seeking sensory stimulation.
What if I don’t have sewing skills to make a weighted backpack?
Consider purchasing a pre-made weighted backpack or seek assistance.
William, a certified personal trainer and fitness enthusiast, brings his expertise in DIY fitness equipment to this comprehensive tutorial on creating a weighted backpack. With over 10 years of experience in the fitness industry, William has helped numerous clients achieve their fitness goals through innovative and cost-effective methods.
Having conducted extensive research on the benefits of weighted backpacks, William understands the importance of incorporating resistance training into one’s fitness routine. He has studied various scientific studies and consulted with experts in the field to provide accurate information on the purpose and advantages of using a weighted backpack.
William also possesses a deep understanding of the materials and equipment required for constructing a weighted backpack. His attention to detail and meticulous approach ensure that readers will have a step-by-step guide that is easy to follow and implement.
Whether you are a fitness enthusiast looking to enhance your workouts or someone seeking an affordable alternative to traditional fitness equipment, William’s expertise and guidance in this article will empower you to create your own custom weighted backpack and take your fitness journey to new heights.