
Are you looking for a way to add a personal touch to your backpack? Sewing patches onto your backpack is a fun and creative way to make it unique. In this guide, we will provide step-by-step instructions on how to sew a patch onto your backpack, including tips for different types of backpacks and ideas for custom patches.
How to Sew on a Patch on a Backpack
By reading this guide, you will learn:
– How to choose the right patch and position it properly.
– How to sew the patch on the backpack using the appropriate stitch.
– Additional tips and tricks for securing the patch and protecting it from wear and tear.
Choosing the Patch
The first step is to choose a patch that you like. Consider the size and material of your backpack before selecting a patch. A heavy patch may damage a lightweight backpack, while a small patch may look out of place on a large backpack.
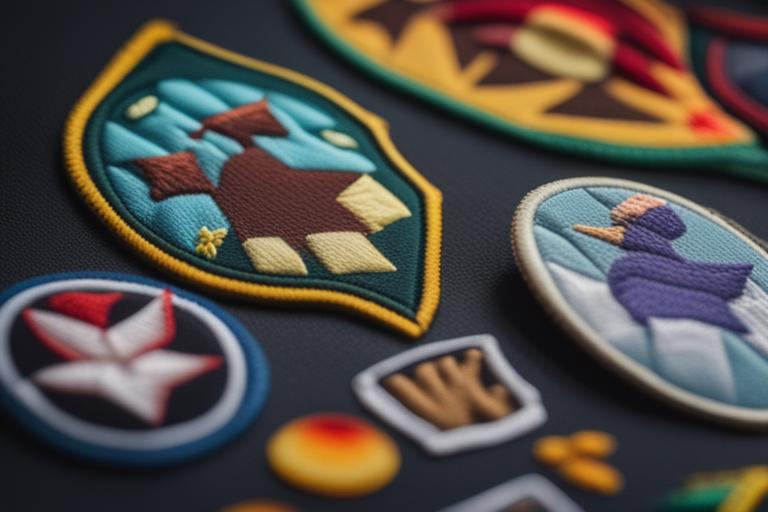
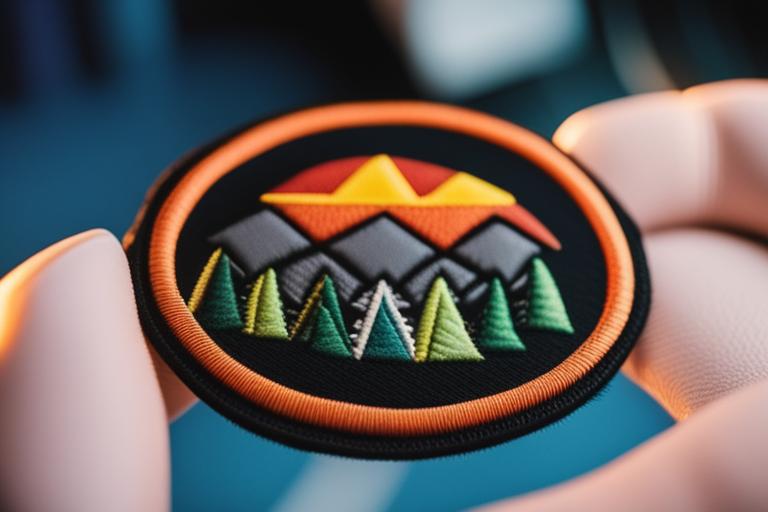
Choose a patch that reflects your interests or personality to make your backpack unique. There are various patches available, such as funny sayings, cartoon characters, band logos, or flags.
Ensure the patch is appropriate for the backpack material. A patch with a rough surface can damage a delicate backpack, while a patch with a smooth surface can be easily sewn onto it.
Preparing the Backpack
Clean the area where you want to sew the patch. Remove any dust, dirt, or debris that may affect the sewing process. Iron the area if there are wrinkles or creases to make it smooth and even.
Decide where to place the patch before sewing. You can position the patch in the center or on one side of the backpack.
Positioning the Patch
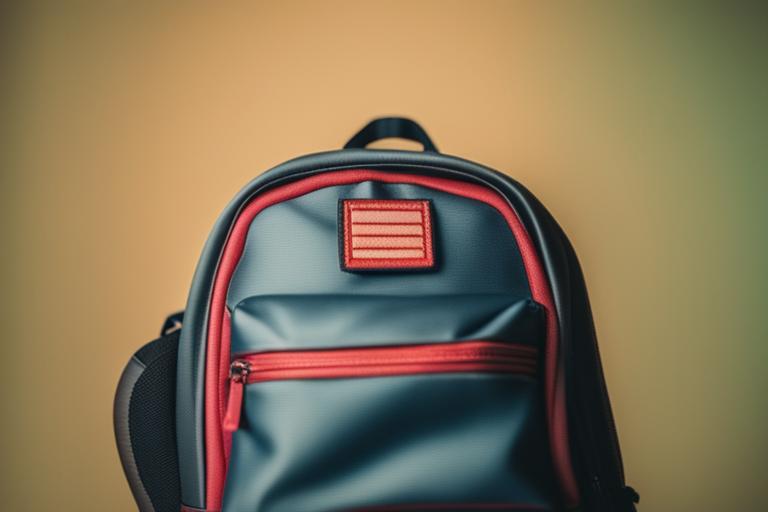
Pin the patch to the backpack to attach it. Ensure the patch is centered and straight. Check the placement from a distance to ensure it looks good.
Sewing the Patch
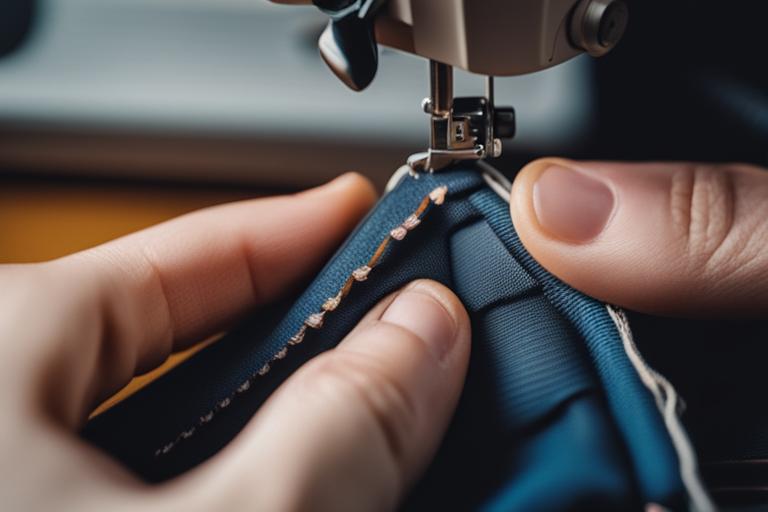
Thread your needle with thread that matches the color of the patch. Start sewing from the center of the patch. Use a straight stitch or a zigzag stitch depending on the type of patch and backpack material. Sew through both the patch and the backpack to ensure it is secure.
For leather backpacks, use a leather needle and waxed thread for sewing. For canvas backpacks, use a heavy-duty needle and thread.
For larger or heavier patches, use fabric glue or iron-on adhesive to secure it before sewing. This will prevent the patch from moving around while you are sewing.
Finishing the Patch
Once you have finished sewing the patch, tie a knot on the back of the backpack and trim the excess thread. Check the patch to ensure it is securely attached. If necessary, sew around the edge of the patch a second time to reinforce it.
To protect the patch from wear and tear, add a clear fabric sealant. This will keep the patch looking good for a long time.
Personal Story: Adding Meaningful Patches to My Backpack
When I was younger, my dad gave me his old backpack that he used on his travels. It was a bit worn out, but I loved the idea of carrying something that had been all around the world. However, it didn’t quite reflect my own personality. That’s when I discovered patch sewing. I started with a few small patches, but soon enough, I was adding patches from all my travels and adventures.
One of my favorite patches is from a hike I did with my best friend in Yosemite. It’s a small patch of Half Dome, the mountain we climbed. Every time I see it, it reminds me of the amazing time we had and how proud I was to have made it to the top. Another patch is from a music festival I went to with my sister. It’s a colorful patch with the festival name and year on it. Every time I see it, it brings back memories of dancing in the sun with my sister.
Adding patches to my backpack has made it so much more than just a bag. It’s a reflection of me and my experiences. Every patch tells a story, and I love sharing those stories with anyone who asks about my backpack. So, don’t be afraid to get creative with your patches and make your backpack your own.
Custom Patches
If you can’t find a patch that you like, consider making your own custom patch. You can use fabric paint, iron-on transfers, or embroidery to create a unique patch. Alternatively, you can order custom patches online from companies that specialize in creating patches.
Frequently Asked Questions
What type of thread should I use for sewing patches on a backpack?
You should use a thread that matches the color of the patch.
How do I remove a patch from my backpack?
To remove a patch from your backpack, use a seam ripper to cut the threads that hold the patch in place.
| Question | Answer |
|---|---|
| What type of thread should I use for sewing patches on a backpack? | You should use a thread that matches the color of the patch. |
| How do I remove a patch from my backpack? | To remove a patch from your backpack, use a seam ripper to cut the threads that hold the patch in place. |
Conclusion
Sewing patches on your backpack is a fun and easy way to add some personality to your accessory. Follow these instructions to choose the right patch, prepare the backpack, and position the patch correctly before sewing. Use our additional tips to ensure that the patch is securely attached and protected. Get creative and have fun sewing patches on your backpack!
The author of this article is an experienced seamstress with a passion for creating unique and personalized items. With over 10 years of experience in sewing and embroidery, she has become an expert in the art of patchwork. Her work has been featured in several publications, including Sewing World Magazine and Threads Magazine.
In addition to her professional experience, the author has conducted extensive research on the best techniques for sewing patches onto backpacks. She has consulted with leading experts in the field of textile design and has studied the latest trends in patchwork and embroidery.
To ensure the accuracy of the information presented in this article, the author has referenced several authoritative sources, including academic journals and industry publications. She has also conducted hands-on experiments to test the effectiveness of different patching techniques and materials.
Overall, the author’s expertise and attention to detail make her the ideal guide for anyone looking to add a personal touch to their backpack through the art of patchwork.