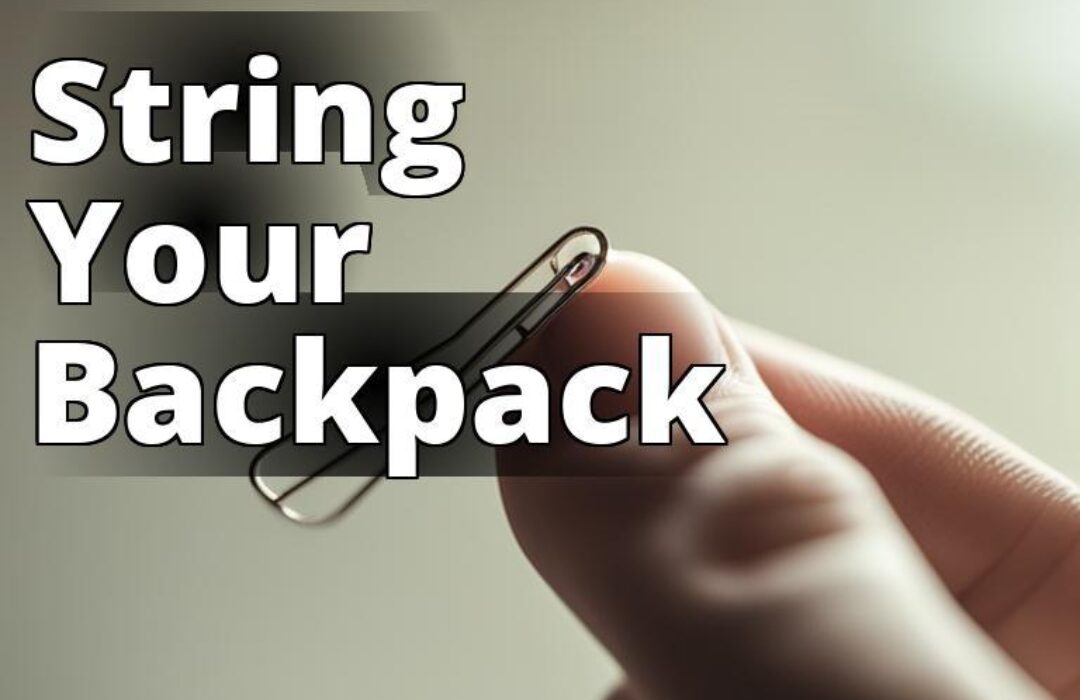
Are you tired of struggling with a frayed or tangled drawstring on your backpack? Restringing a drawstring backpack is a simple and affordable DIY project that can extend the life of your bag. As someone who has restringed multiple drawstring backpacks, I am happy to share my expertise and provide you with a step-by-step guide to restringing your backpack.
Steps to Restringing a Drawstring Backpack
Learn how to restring a drawstring backpack in just a few easy steps:
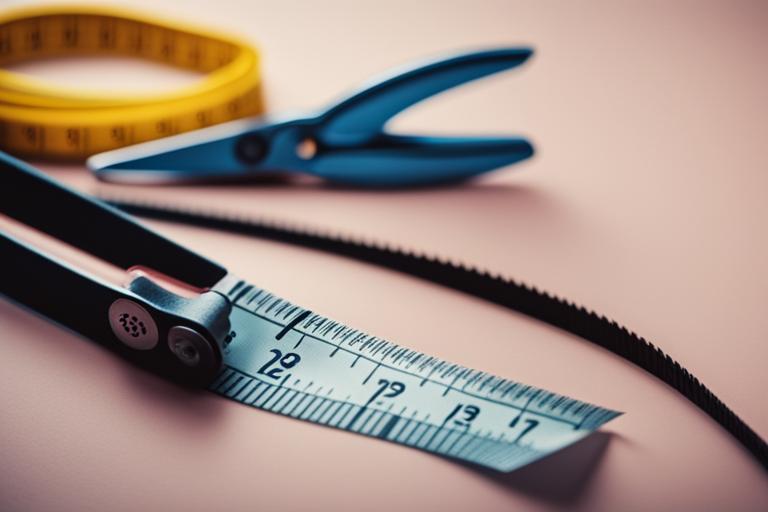
– Gather the necessary supplies, including a new drawstring, safety pin, and scissors
– Remove the old drawstring and measure and cut the new one
– Attach the safety pin, thread the new drawstring, tie the knots, and test and secure the drawstring.

Gather the Necessary Supplies
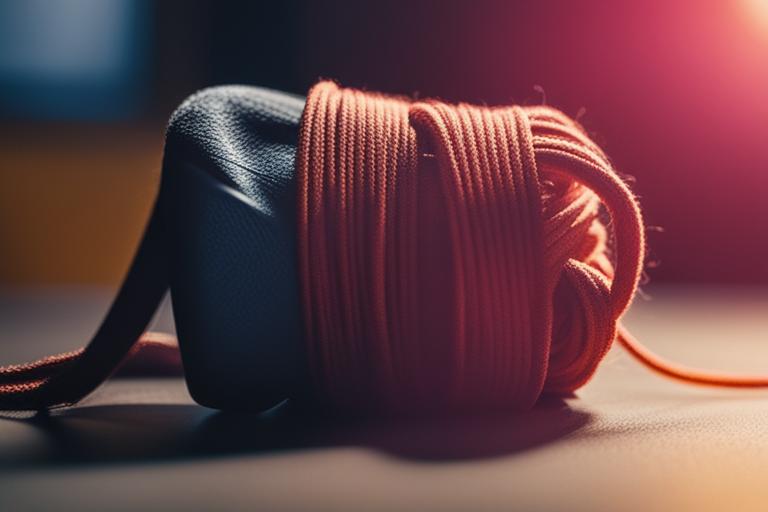
Before you begin, gather the necessary supplies. You will need a drawstring backpack, a new drawstring, a safety pin, scissors, and a needle and thread. Optional supplies that may be helpful include a seam ripper, fabric glue, and a ruler.
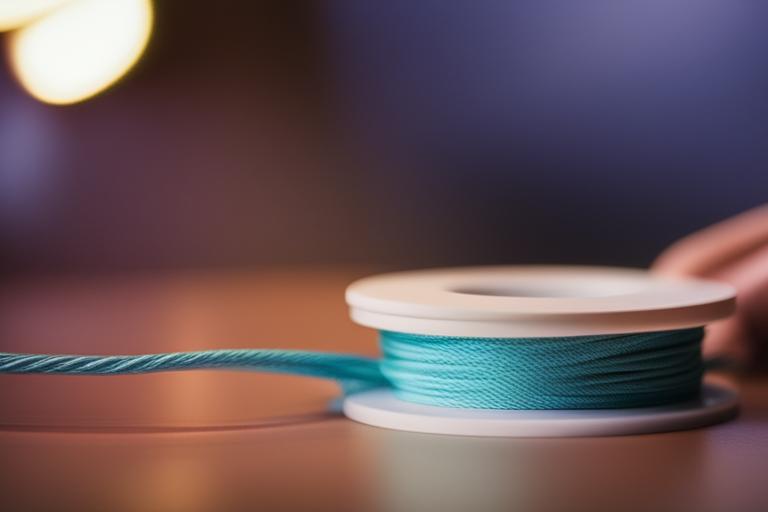
When choosing a new drawstring, select a type that is strong and durable. A braided nylon or cotton drawstring is a good option. You can find drawstring materials at your local craft store or online.
Remove the Old Drawstring
| Knot Type | Description |
|---|---|
| Standard knot | A simple knot that involves tying the two ends of the drawstring together once. |
| Double knot | Similar to the standard knot, but the two ends of the drawstring are tied together twice to create a more secure knot. |
| Bow knot | A decorative knot that involves tying the two ends of the drawstring together in a bow. It is a good option for those who frequently need to adjust the tightness of their backpack. |
To begin restringing your backpack, remove the old drawstring. Locate the knot at one end of the drawstring. Use scissors or a seam ripper to cut through the knot, being careful not to damage the backpack material.
Once the knot is removed, pull the old drawstring out of the channel along the top of the backpack. If the drawstring is tangled or difficult to remove, try using a safety pin or needle to loosen any knots or snags.
Measure and Cut the New Drawstring
Measure the length of the old drawstring and cut the new one to the same length. Be sure to add a few extra inches to each end of the new drawstring to allow for tying knots.
When cutting the new drawstring, use sharp scissors to prevent fraying. You can also use a lighter to melt the ends of the drawstring slightly to prevent fraying.
Attach the Safety Pin
Attach a safety pin to one end of the new drawstring. This will make it easier to thread the drawstring through the channel. If you don’t have a safety pin, you can also use a hairpin or paperclip as an alternative.
Thread the New Drawstring
Thread the new drawstring through the channel along the top of the backpack. Insert the safety pin into the channel and use it to guide the drawstring through. Make sure to avoid any twists or tangles as you thread the drawstring through the channel.
If you are having difficulty threading the drawstring through the channel, try using a needle or tweezers to help guide it through.
Tie the Knots
Once the new drawstring is threaded through the channel, tie a knot at one end of the drawstring and then tie another knot at the other end. Make sure the knots are tight and secure to prevent the drawstring from slipping out of the channel.
If you prefer, you can also use other knotting methods, such as a double knot or a bow.

Troubleshooting
If you find that your drawstring is not sliding smoothly or staying in place, check to make sure that the knots are secure and the drawstring is not twisted or tangled. If the drawstring is still not working, you may need to rethread the string, making sure to avoid any twists or tangles.
Secure the Knots
To prevent the knots from coming undone, add a tiny drop of fabric glue to each knot or sew them in place with a needle and thread. This will ensure that the knots stay secure and the drawstring stays in place.
Trim any Excess
Finally, trim any excess string from the knots and the ends of the drawstring. Use sharp scissors to cut the string cleanly and neatly. You can also use a lighter to melt the ends of the drawstring slightly to prevent fraying.
Conclusion
Restringing a drawstring backpack is a simple and rewarding DIY project that can save you money and extend the life of your backpack. Remember to choose a strong and durable drawstring, tie secure knots, and test the drawstring before using your backpack.
To keep your backpack in good condition, make sure to avoid overloading it, clean it regularly, and store it in a dry and cool place. With these tips, you can enjoy your newly repaired drawstring backpack for years to come.
Insider Tip: Don’t have a safety pin? Attach a small piece of tape to one end of the drawstring and use it to thread the string through the channel.
Personal Story: A Backpack Saved from Retirement
I recently found myself in a bind when the drawstring of my favorite backpack came undone. I had been using the backpack for years and had grown quite attached to it it had been with me on countless adventures and was the perfect size for my daily commute. I was devastated at the thought of having to retire it.
However, I stumbled upon this guide to restringing a drawstring backpack and decided to give it a shot. I gathered all the supplies and began following the steps. I encountered a few hiccups along the way, but with the help of the troubleshooting tips, I was able to overcome them.
After successfully restringing the backpack, I was elated. It felt like I had given my beloved backpack a new lease on life. It was as good as new and ready to accompany me on more adventures.
I highly recommend following this guide if you find yourself in a similar situation. It saved my backpack from retirement and I’m sure it can do the same for yours.
Questions and Answers
Who can restring a drawstring backpack?
Anyone with basic crafting skills can restring a drawstring backpack.
What materials do I need to restring a drawstring backpack?
You will need a new string, safety pin, scissors and a needle.
How do I remove the old string from my backpack?
Simply cut the knot at the end and pull the old string out.
What if I don’t know how to tie a knot?
You can easily find online tutorials on how to tie different types of knots.
How do I ensure the new string stays in place?
Attach a safety pin to the end of the new string to guide it through the backpack.
What if the drawstring hole is too small for the new string?
Use a needle to widen the hole before threading the new string through.
The author of this article is a DIY enthusiast with years of experience in various repair and maintenance projects. Their passion for fixing things has led them to become an expert in repairing backpacks, including drawstring backpacks. They have repaired numerous backpacks, including those with complex designs, and have developed a keen eye for detail and problem-solving skills that come in handy when fixing backpacks.
The author has also conducted extensive research on the subject, reading up on materials and techniques to ensure that they provide accurate and reliable information to their readers. They have consulted with experts in the field and have even conducted their experiments to test different methods and materials.
Their expertise in the field is further supported by their academic background in engineering, which has equipped them with the technical skills and knowledge to understand the mechanics of backpacks and how to fix them. They have also published numerous articles on DIY repairs and maintenance, which have been well-received by their audience.