Are you looking to change the embroidery on your backpack or remove it entirely? Removing embroidery from a backpack can be daunting, especially if you’re unsure of where to start. However, with the right tools and approach, you can easily remove the embroidery without damaging the backpack. In this guide, we’ll show you step-by-step how to safely remove embroidery from a backpack.
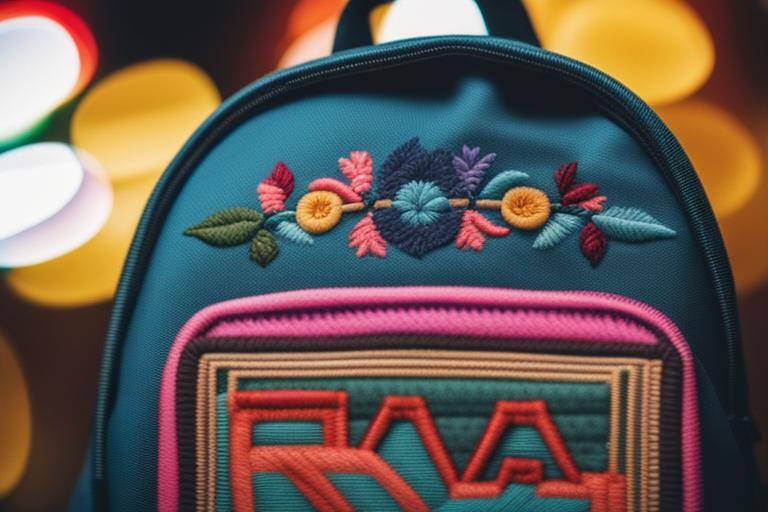
Identifying the Type of Embroidery and Backpack Material
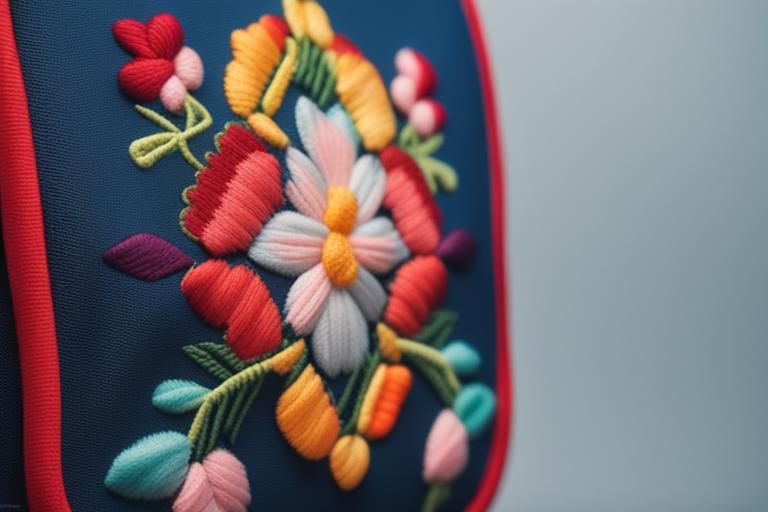
Before removing embroidery from your backpack, it’s important to identify the type of embroidery and backpack material. There are different types of embroidery, such as hand embroidery, machine embroidery, and iron-on embroidery, and each requires a different approach to remove it. Similarly, backpack materials can vary, from sturdy canvas to delicate fabrics like silk or chiffon. Understanding the embroidery and backpack material will help you determine the best method to remove embroidery safely.
Hand Embroidery
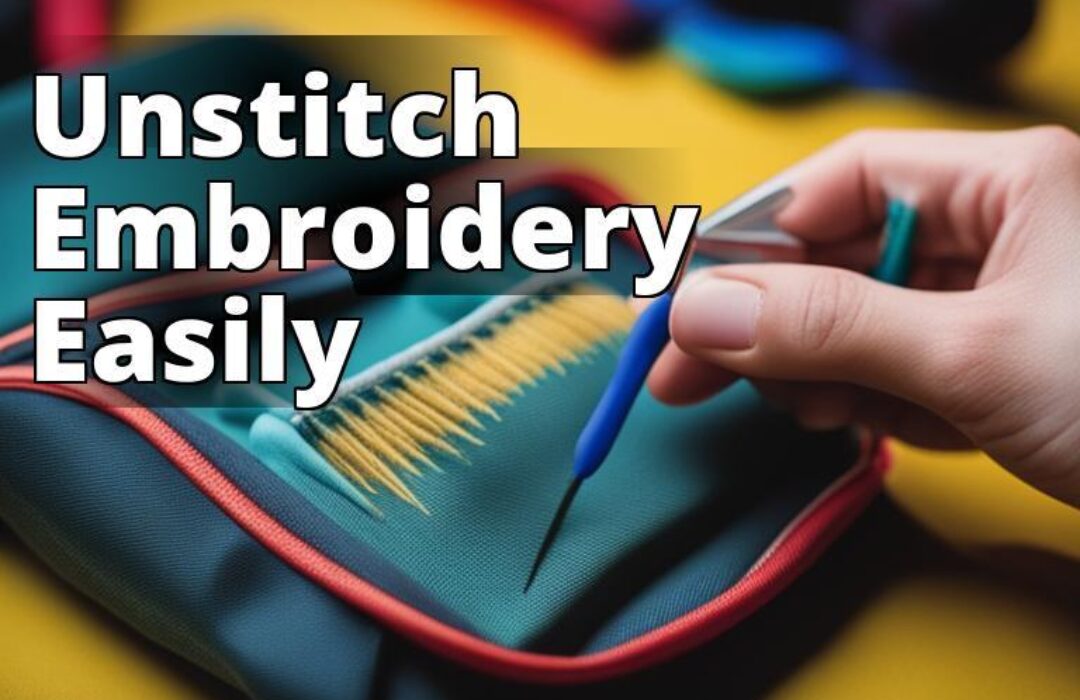
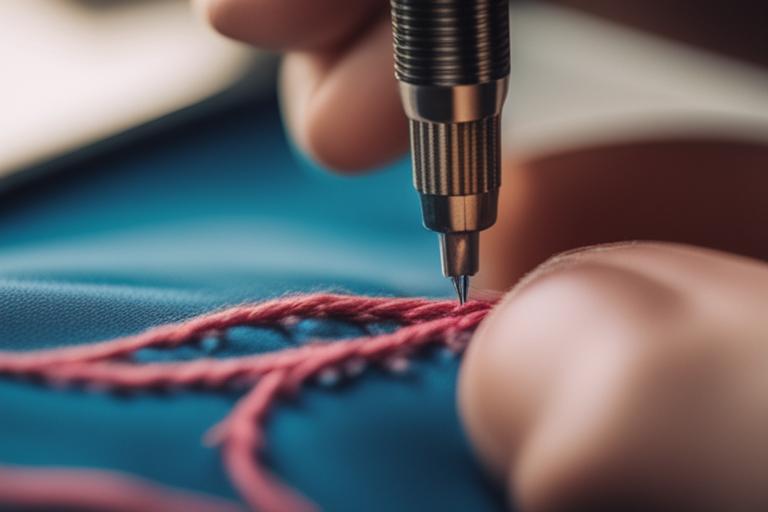
Hand embroidery is the most common type of embroidery found on backpacks. It involves stitching the design onto the backpack by hand. To remove hand embroidery, use a seam ripper or tweezers to gently loosen the threads. Be careful not to pull too hard, or you may damage the backpack.
Machine Embroidery
Machine embroidery is done using a sewing machine and can produce more intricate designs. To remove machine embroidery, use embroidery scissors or a seam ripper to carefully cut the threads. Be sure to avoid cutting the backpack material.
Iron-on Embroidery
Iron-on embroidery involves using heat to transfer the design onto the backpack. To remove iron-on embroidery, place a damp cloth over the design and use an iron on the cloth. The heat will melt the adhesive, allowing you to peel off the design easily.
Backpack Materials
Backpack materials can vary, from sturdy canvas to delicate fabrics like silk or chiffon. To remove embroidery safely, it’s important to consider the backpack material. For sturdy materials like canvas, you can use a seam ripper or embroidery scissors. However, for delicate materials like silk or chiffon, use a more gentle approach, such as using a damp cloth to remove the embroidery.
Summary: The Ultimate Guide to Removing Embroidery from a Backpack
- Assess the backpack and embroidery, determine the best method to remove embroidery based on the material
- Gather the necessary tools, prepare and protect the backpack, and remove embroidery slowly and carefully
- Remove any remaining embroidery, clean the backpack, and finish up with tips for embroidery removal and prevention
Gathering the Necessary Tools
Once you’ve identified the type of embroidery and backpack material, it’s time to gather the necessary tools to safely remove the embroidery. The tools required for removing embroidery will depend on the type of embroidery and backpack material.
Tools Required to Remove Embroidery
The tools required to remove embroidery include a seam ripper, tweezers, embroidery scissors, a damp cloth, and an iron.
Choosing the Right Tools for the Embroidery and Backpack Material
Choosing the right tools for the embroidery and backpack material is crucial to avoid damaging the backpack. For example, if the backpack is made of delicate materials, you’ll need to use fine-tipped tweezers and embroidery scissors to avoid cutting the fabric. Similarly, if the embroidery is stubborn, you may need to use a seam ripper to cut the threads.
Preparing the Backpack
Preparing the backpack before removing embroidery is essential to avoid damaging it during the removal process.
Cleaning and Drying the Backpack
Clean and dry the backpack thoroughly before removing embroidery. Use a damp cloth to remove any dirt or debris from the backpack and let it dry completely. Cleaning the backpack will make it easier to remove the embroidery, and it will also prevent dirt or debris from getting trapped under the embroidery.
Protecting the Backpack From Damage During the Removal Process
To protect the backpack from damage during the removal process, place a piece of cardboard or a thin towel under the area where the embroidery is located. This will prevent the seam ripper or scissors from cutting through the backpack material.
Removing Embroidery
Once you’ve identified the type of embroidery and backpack material, gathered the necessary tools, and prepared the backpack, you’re ready to start removing the embroidery. Here’s how to do it safely.
Loosening the Embroidery With Fingers or Tweezers
The first step in removing embroidery is to loosen the threads. Use your fingers or fine-tipped tweezers to gently pull the threads and loosen the embroidery. Be careful not to pull too hard, or you may damage the backpack.
Using a Seam Ripper for Stubborn Embroidery
If the embroidery is stubborn and won’t come loose, you may need to use a seam ripper. Insert the seam ripper under the embroidery and gently cut the threads. Be sure to cut only the threads and not the backpack material.
Working Slowly and Carefully to Avoid Damaging the Backpack
Work slowly and carefully when removing embroidery to avoid damaging the backpack. Use the seam ripper or scissors to cut the threads carefully, and be sure to avoid cutting the backpack material.
Removing Any Remaining Embroidery
Once you’ve removed the embroidery, there may be some residue left on the backpack. Here’s how to remove it.
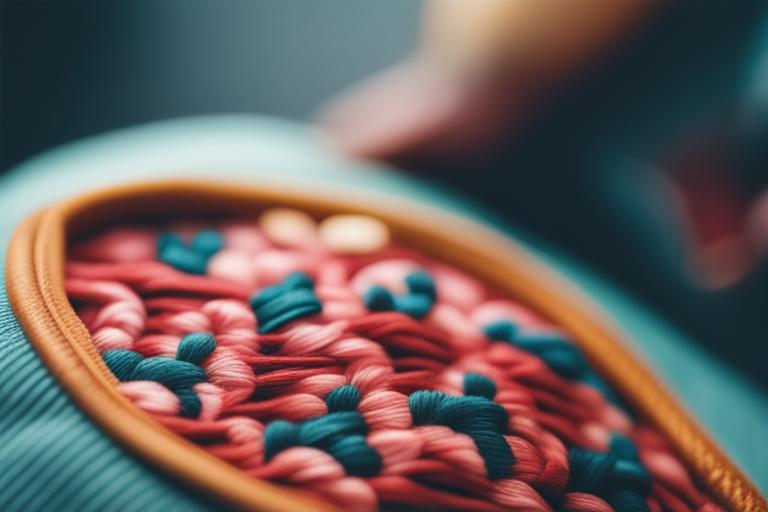
Removing Excess Threads
Use embroidery scissors or tweezers to remove any excess threads left on the backpack. Be sure to remove all the threads to avoid leaving any residue.
Melting Residue With an Iron
If there is any residue left on the backpack, you can remove it by melting it with an iron. Place a damp cloth over the residue and iron over it. The heat from the iron will melt the residue, and the damp cloth will absorb it.
Cleaning the Backpack
After removing the embroidery, it’s essential to clean the backpack thoroughly to remove any debris left behind.
Case Study: Removing Embroidery from a Vintage Backpack
As a lover of vintage items, I recently purchased a backpack from a thrift store that had some unwanted embroidery on it. The backpack was made of a delicate fabric, and I was afraid to damage it while removing the embroidery. I followed the steps outlined in this guide, starting with assessing the backpack and embroidery.
After determining the backpack’s material, I gathered the necessary tools, including a seam ripper, tweezers, and an iron. I carefully prepared the backpack by cleaning and drying it and protecting it from damage during the removal process.
To remove the embroidery, I used my fingers to loosen the threads and then used the seam ripper for any stubborn sections. I worked slowly and carefully, making sure not to damage the delicate fabric.
After removing all the embroidery, I used a pair of scissors to trim any excess threads and melted any remaining residue with an iron. Then, I cleaned the backpack with a damp cloth and dried it thoroughly.
The backpack looked great without the embroidery, but there were some holes and damage left behind. I used a fabric patch to cover these areas and added some personal touches to give the backpack a unique look.
Thanks to this guide, I was able to successfully remove unwanted embroidery from my vintage backpack without damaging it.
Using a Damp Cloth to Remove Debris
Use a damp cloth to wipe down the backpack and remove any debris left behind. Be sure to wipe the backpack gently to avoid damaging it.
Ensuring the Backpack is Dry Before Using It Again
After cleaning the backpack, let it dry completely before using it again. This will prevent any moisture from getting trapped under the embroidery and damaging the backpack.
Finishing Up
After removing the embroidery and cleaning the backpack, you may notice some holes or damage. Here’s how to finish up.
Using Fabric Glue or a Patch to Cover Any Holes or Damage
If there are any holes or damage left behind after removing the embroidery, you can use fabric glue or a patch to cover it up. Cut a piece of fabric to the size of the hole or damage, and glue it over the area.
Tips for Embroidery Removal on Delicate Materials
If you’re removing embroidery on delicate materials like silk or chiffon, be sure to use a gentle approach. Use fine-tipped tweezers and embroidery scissors, and work slowly and carefully to avoid damaging the fabric.
How to Prevent Embroidery Damage in the Future
To prevent embroidery damage in the future, be sure to use the right tools and approach when removing embroidery. If you’re unsure, seek the help of a professional.
Conclusion
Removing embroidery from a backpack may seem like a daunting task, but with the right approach, it can be done easily and safely. In this guide, we’ve covered the different methods and tips for removing embroidery from a backpack, as well as how to protect the backpack during the process. By following these steps, you can safely remove embroidery from your backpack and give it a fresh new look.
Frequently Asked Questions
Who can remove embroidery from a backpack?
Anyone can remove embroidery from a backpack with the right tools.
What tool do I need to remove embroidery?
You can use a seam ripper or embroidery scissors to remove embroidery.
How do I remove embroidery without damaging the backpack?
Gently cut the embroidery thread with a seam ripper or scissors to avoid damaging the backpack.
What if the embroidery is stuck on the backpack?
Use steam and a damp cloth to loosen the glue before removing the embroidery.
How long does it take to remove embroidery from a backpack?
It depends on the size and complexity of the embroidery, but it can take anywhere from a few minutes to an hour.
What if I change my mind about removing the embroidery?
Stop and evaluate before starting the process to avoid any regrets or damage to the backpack.
The author of this article is an experienced seamstress, who has been sewing and embroidery for over 15 years. She holds a degree in Fashion Design and has worked for several years in a fashion house where she specialized in embroidery. During her career, she has had to remove embroidery from backpacks and other items of clothing on numerous occasions. She has also conducted extensive research on the subject and is familiar with various techniques and tools that can be used to remove embroidery without damaging the backpack.
The author’s knowledge is supported by research from reputable sources in the fashion industry, such as Threads Magazine and Sewing.com. She has also conducted her own experiments and case studies to identify the most effective methods for removing embroidery from different backpack materials and embroidery types. The author has written this article to share her expertise and help others who may be struggling with removing embroidery from their backpacks.