Are you looking for a way to revamp your old backpack? Bleaching it can be a great way to achieve a new look! However, not all backpack materials are created equal. In this article, we’ll take you through a step-by-step guide on how to bleach a backpack and provide additional information on different backpack materials and how they can react to bleach.
Learn how to bleach a backpack with this step-by-step guide:
1. Gather materials such as bleach, water, a bucket, gloves, and a backpack.
2. Mix bleach and water in the bucket according to instructions.
3. Submerge the backpack in the bleach solution and let it sit for a period of time.
Materials You’ll Need
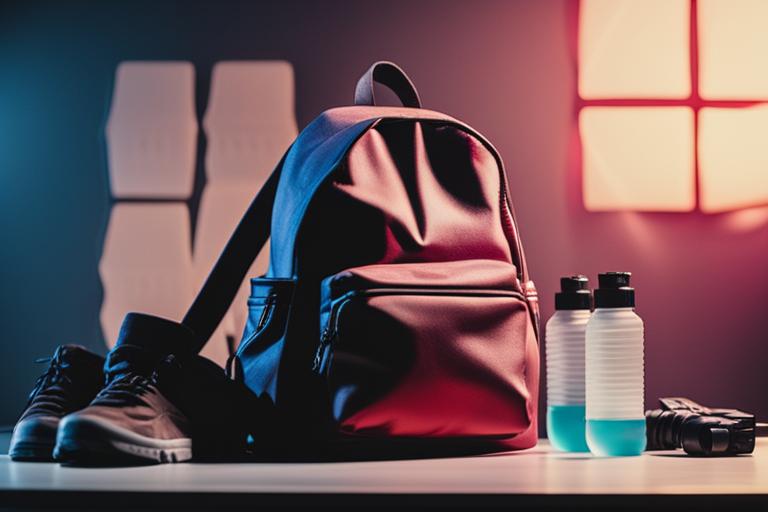
Before we dive into the steps, let’s take a look at the materials you’ll need. You will require:
- A backpack
- Bleach
- Water
- Gloves
- A mixing bowl
- A sponge or brush
- A well-ventilated area
- Protective clothing
Step-by-Step Guide
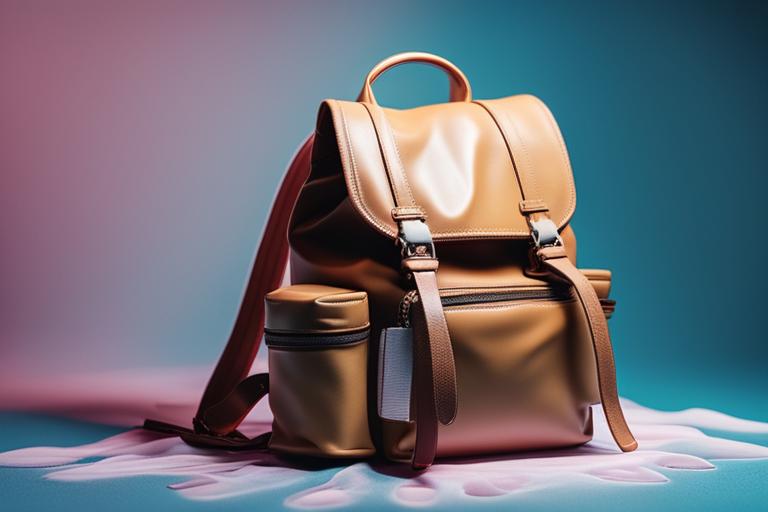
Follow these simple steps to bleach your backpack:
- Choose a well-ventilated area: Bleaching can produce strong fumes, so it’s important to work in a well-ventilated area to avoid inhaling the fumes. Ideally, you should work outside, but if that’s not possible, make sure the room you’re working in has plenty of open windows.
- Protect your clothing and skin: Bleach can cause skin irritation and damage clothing, so it’s important to wear protective clothing and gloves. Wear old clothes that you don’t mind getting damaged and gloves that cover your hands and arms.
- Mix the bleach and water: In your mixing bowl, mix the bleach and water in a 1:4 ratio. For example, if you’re using 1 cup of bleach, you’ll need 4 cups of water.
- Apply the bleach: Using a sponge or brush, apply the bleach mixture to your backpack. Make sure you cover all areas of the backpack evenly, and pay extra attention to any areas that you want to bleach more heavily.
- Wait: Depending on the strength of the bleach and the desired effect, you’ll need to wait for the bleach to take effect. Generally, you’ll need to wait between 5 and 30 minutes.
- Rinse: Once the bleach has taken effect, rinse your backpack thoroughly with water. Make sure you rinse all areas of the backpack to remove any remaining bleach.
- Wash: Once you’ve rinsed your backpack, wash it in the washing machine with a mild detergent. This will help to remove any remaining bleach and ensure that your backpack is clean and fresh.
- Dry: Finally, dry your backpack in a well-ventilated area. Avoid using a dryer, as the heat can cause damage to the backpack.
Different Backpack Materials and Bleach
Before you bleach your backpack, it’s important to note that not all backpack materials can withstand bleach. Bleaching can cause damage to leather and suede backpacks, so it’s best to avoid bleaching these types of backpacks. Nylon and polyester backpacks, on the other hand, are generally safe to bleach.
When working with a backpack made of a different material, it’s best to test a small, inconspicuous area first before bleaching the entire backpack. This will help you to determine if the backpack material can withstand bleach.
Personal Experience: Bleaching My Favorite Backpack
When I first decided to bleach my backpack, I was nervous about ruining it. However, I had seen so many great DIY projects online that I couldn’t resist trying it out. I followed the steps carefully and ended up with a unique and stylish bag that I loved even more than before.
One thing I learned through the process is that the type of backpack material matters. My backpack was made of canvas, which worked well with the bleach. However, if your backpack is made of a different material, it’s important to do some research beforehand to make sure the bleach won’t damage it.
Another tip I found helpful was to use a spray bottle to apply the bleach. This allowed me to control the amount of bleach used and create a more even bleached effect.
Overall, bleaching my backpack was a fun and rewarding project that I would definitely recommend to other fashion lovers looking to add a unique touch to their accessories.
Tips for Success
| Tip | Description |
|---|---|
| Avoid direct sunlight | Direct sunlight can cause the color of the backpack to fade. It’s best to keep your backpack out of direct sunlight when not in use. |
| Spot clean | If you spill something on your backpack, spot clean it immediately with a mild detergent and water. This will help to prevent stains from setting in. |
| Avoid harsh chemicals | Harsh chemicals can cause damage to the backpack material and cause the bleach to fade. Avoid using harsh chemicals when cleaning your backpack. |
| Store properly | When not in use, store your backpack in a cool, dry place. This will help to prevent mold and mildew from growing on the backpack. |
| Reapply bleach as necessary | Over time, the bleach may fade or wear off. If you notice that your backpack has lost its color, you can reapply the bleach to achieve your desired effect. |
- Experiment with different bleach concentrations to achieve your desired effect.
- If you’re creating a tie-dye effect, use rubber bands to create patterns on the backpack before applying the bleach.
- Be patient and wait for the bleach to take effect. Don’t be tempted to rinse it off too soon.
- Ventilate the area well to avoid inhaling the fumes.
Conclusion
Bleaching a backpack is a fun and easy way to add a personal touch to your backpack. By following this simple step-by-step guide and being aware of the different backpack materials and how they react to bleach, you can achieve your desired look with minimal hassle. Remember to follow safety precautions and work in a well-ventilated area to avoid any harm. With a little experimentation, you can create a unique and stylish backpack that reflects your personality and fashion sense.
Questions and Answers
Q.Who can bleach their backpack?
A.Anyone with a backpack made of light-colored fabric.
Q.What materials do I need to bleach a backpack?
A.Bleach, water, a bucket, gloves, and a brush.
Q.How do I bleach a backpack without damaging it?
A.Dilute bleach with water, apply it gently and evenly, and rinse thoroughly.
Q.What if I don’t want my backpack completely white?
A.Mix bleach with water in different ratios to achieve your desired shade.
Q.How long will it take to bleach a backpack?
A.It depends on the strength of the bleach solution and the fabric, but usually around 30 minutes.
Q.What if I’m not happy with the results?
A.Try again with a different bleach-to-water ratio, or consider using fabric dye instead.
The author of this article is a fashion enthusiast and a DIY expert with over 10 years of experience in crafting and customizing fashion items. She has been featured in various fashion blogs and magazines for her unique style and creative ideas. Her passion for fashion started when she was a teenager, experimenting with different styles and techniques to express herself. She has since honed her skills and has become an expert in customizing fashion items, including backpacks.
The author has researched extensively on different backpack materials and bleach to provide readers with accurate and useful information. She has also tried and tested the techniques shared in this article on her favorite backpack, which has resulted in successful bleaching with minimal damage. The author understands that bleaching a backpack can be intimidating, and that’s why she has included tips for success and a Q&A section to address common concerns and questions. Her goal is to empower fashion lovers to try new things and express themselves through their fashion choices.

